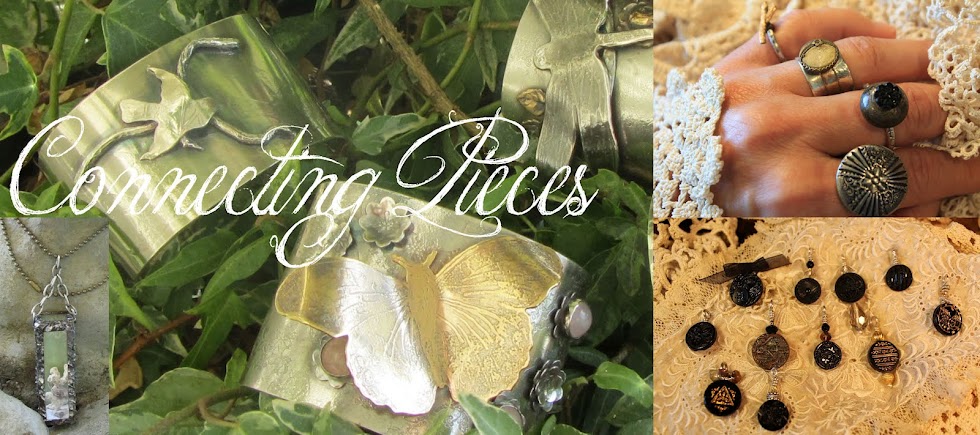
Several people have asked me how I make my Butterfly Cuffs. So for the next three days I will give you a general overview of the process.
When making my "one of a kind cuffs" I use a process called acid etching.
It is a fun, yet time consuming process. This process can also be dangerous.
If you think you may like to try acid etching please take a class from a qualified instructor.
When making my "one of a kind cuffs" I use a process called acid etching.
It is a fun, yet time consuming process. This process can also be dangerous.
If you think you may like to try acid etching please take a class from a qualified instructor.
To begin I find and or draw pictures or designs that I would like to etch. Then I print my images onto white paper.
At this point I can make my images smaller or larger. I really want to make sure I have a clear black and white image. If my image is not clear, I use a black marker to color in or add to my picture.
At this point I can make my images smaller or larger. I really want to make sure I have a clear black and white image. If my image is not clear, I use a black marker to color in or add to my picture.
Once I have my images I start the cutting process. I cut out a picture, place double sided tape on the back of the picture,then I place that picture onto another piece of white paper.
I continue this until my sheet of paper is full of images. Once I have a full sheet of pictures taped to my white sheet of paper, I make a copy of it.
I continue this until my sheet of paper is full of images. Once I have a full sheet of pictures taped to my white sheet of paper, I make a copy of it.
It is now time to take my white paper images to a laser printer. I will be printing my images onto blue P.N.P paper.
It's time to start cleaning my metal. To do this I use a little pumice powder, 0000 fine steel wool and water. I rub my metal with this paste until I think it's clean. Then I rinse the metal, if the water beads or separates I clean the metal again. If my metal is not clean my images will not transfer. It is very important to take the time and clean the metal well.
Once my metal is clean I start cutting out images from my P.N.P. paper and place them onto the metal. I try to cover as much of the metal as possible, by doing this I can keep the waste down.
Using a hot dry iron I heat the P.N.P. paper and the metal. This is a slow process and requirers some patience. If I remove the paper to quickly I will not have a full transfer.
When the black shows throw the blue P.N.P. paper it is time to slowly peel back the blue paper.
My pictures have now been transfered onto the metal. Now I turn the metal over and tape the back of the metal with duct tape. I do this so that the acid does not eat into the back of the metal.
Tomorrow I will go through the steps of etching the metal.
My pictures have now been transfered onto the metal. Now I turn the metal over and tape the back of the metal with duct tape. I do this so that the acid does not eat into the back of the metal.
Tomorrow I will go through the steps of etching the metal.


No comments:
Post a Comment