Showing posts with label Shells. Show all posts

Sunday, January 6, 2013

DIY- Sea Shell Fringe

Craft Day
How to make a Sea Shell Fringe.
Supplies:
Drill, drill bit, twine, sea shells,
large needle,
and a lamp shade
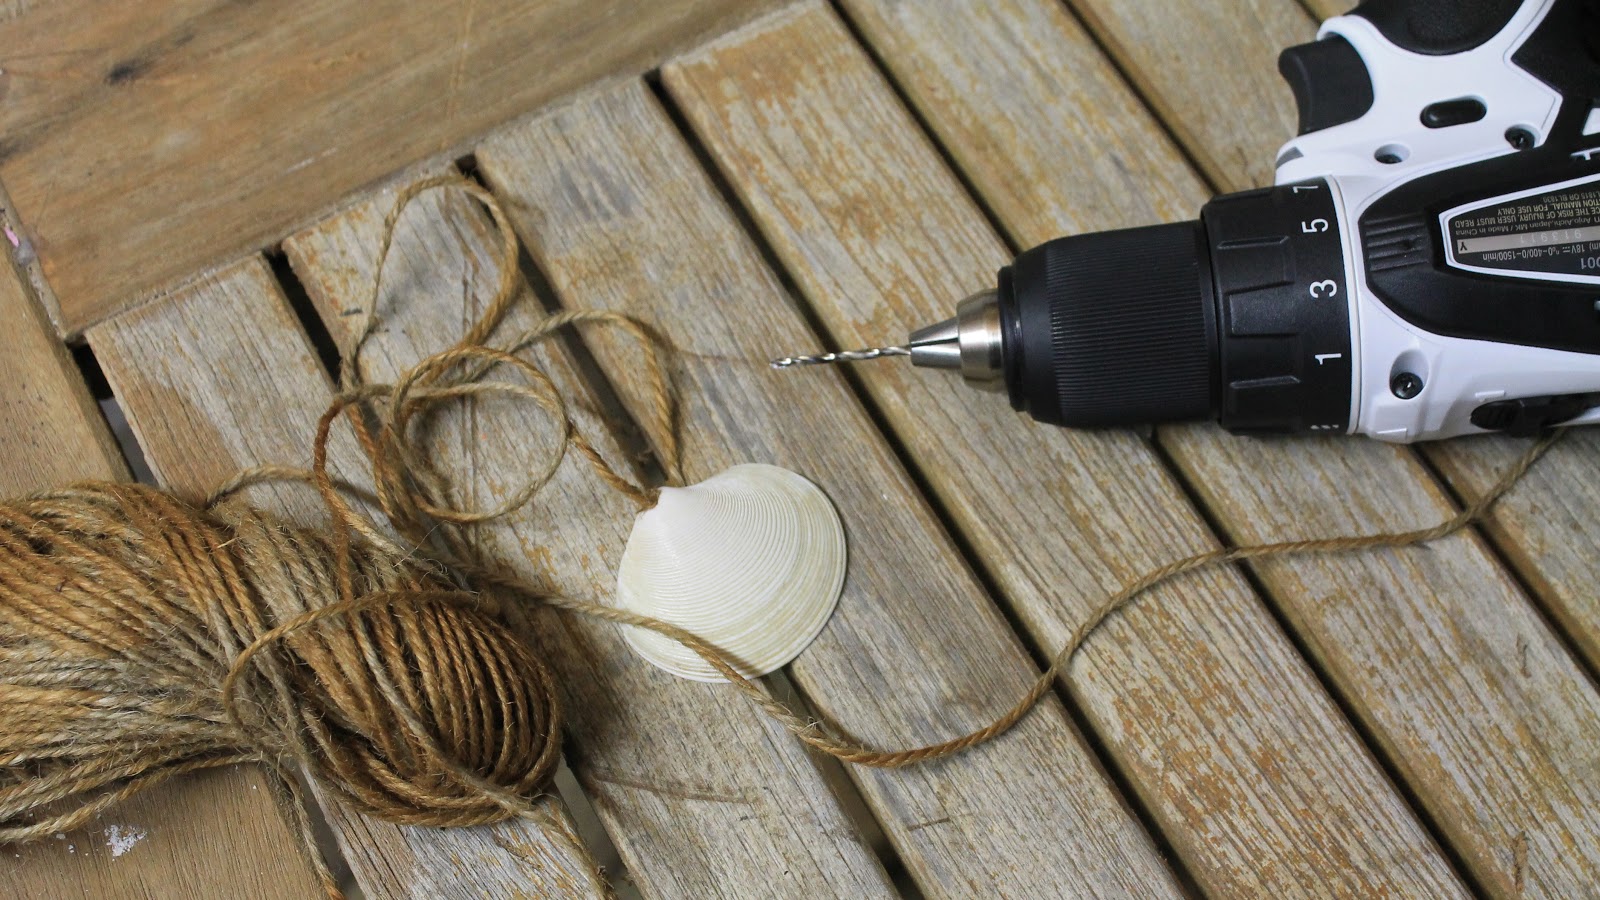
Use your twine as your measuring tape,
wrap it around the bottom of your lamp shade.
Place your twine in a circle on the table.
Place your shells on the twine.
 This will give you a pretty good idea of how
many shells you will need for your fringe.
Set your twine aside. 
Now it is time to start drilling a hole in each one of your shells.
Turn your shells to the back side. Drill a hole in the
cusp of your shells.
 Do not cut your twine.
 Pull off enough twine to go around your
lamp shade two times. (do not cut your twine)
 Thread your needle with your twine.
Take one of your shells and thread it on to your twine.
Slide the shell down your twine.
 Make a small loop and tie a knot.
Thread on another shell, leave about a two inche space between
shells, make another loop and tie your knot.
Keep on doing this until your fringe is long enough to go around
your lamp shade.
Wrap your fringe around your lamp shade and
tie the ends together. Wrap your twine
around your shade two more times.
 Take your needle and twine and weave in and out of the fringe
all the way around your lamp shade.
When you get to the end tie a knot and cut the
end of the twine.
Tuck the end of the twine into itself
 so that you cannot see the end of the twine.
Now you have Sea Shell Fringe!
Beautiful in the day!
Stunning at night!


Thursday, August 9, 2012

Driftwood Ideas

One day I was looking around my house thinking
(Actually I was cleaning) and 
I noticed that, well, my decorating 
needed a little change.
As you may or may not know I 
really like driftwood.
In past blogs I have made driftwood
mirrors and a driftwood arbor.
Those things, though wonderful,
 need a lot of driftwood. 
Today I will share with you
decorating ideas that only use one or
two pieces of driftwood.
For this lovely seashell and driftwood arrangement
I started with an antique wooden tray as my base
then I placed an interesting piece of
driftwood on my tray. 
Beautiful white shells and sea life were then placed
 on and around the driftwood.
I left a space in the corner of my tray
for a glass bottle which I filled with water
an added three philodendron leafs.
This arrangement is anchored with a fiber mat.
I added a piece of driftwood into the center of
 the arrangement that is sitting on my 
diningroom table.
My arrangement was okay.
Okay or fine is not good enough for me.
 I placed a piece of driftwood in front
 of my arrangement.
This signal piece of driftwood worked as an anchored 
for my arrangement.
Much better!
I had a lot of fun putting this arrangement 
together.
 I  used things I had sitting around the house
 to tell a story on this side table.
One piece of driftwood brought the 
whole arrangement together.
All you need is one piece of driftwood
with a little character then watch 
your arrangements come to life.


Saturday, June 11, 2011

Shell Box - Friend

Todays  Shell Box was made for a wonderful young man, Chad. 
 When I was asked to make this box I was thrilled and honored.
Chad has been an island resident and the on-island manager for several years.
He was always lending a hand and keeping everything running and everyone on task.
 We have all loved having him here and he will be greatly missed.
 My desire for Chad's Shell Box was to tell a story of his time here on Useppa Island. 
Like all of my shell boxes I worked from the inside out. 
 I started with an old wooden cigar box and lined the inside of the box with navy felt.
Then I placed ribbon and cording around the inside edges of the box in hopes of bringing back
 memories of our turquoise waters. 
I placed words on the inside lid that represent Chad. He is an adventurer, guide, friend and inspiration.
In the middle of the lid I placed a little plaque that says,
" We do not remember days. We remember moments."
I made a chain with tokens that represent things on and around Useppa Island
 and placed it in the box.
This is what Chad sees when he opens his box.
On the outside of this box there lies layers and layers of very small sea shells.
A lot of these shells were found on Cayo Costa, a  beautiful Island
 where on a high surf day you might see Chad surfing.
Chad's box is finished,
 a little treasure box full of memories and  moments.


Thursday, March 24, 2011

A Shell Seeker Adventure

Today was a beautiful day for a shell seeker adventure. 
We started our adventure with a picnic lunch on the white sands of cayo-coasta.
The turquoise water was calling us,
 the shells were laying on the beach just waiting for someone to pick them up and take them home.
The real adventure started when Shell Seeker took my two nieces Samantha, Kirsten 
and their friend Gabby tootling around. I took them to some of my shell seeking spots, so that they could see some of our Florida wild life. 
We came upon an osprey nest with one osprey feeding her newly born chick and the mate close by keeping a watch for unwanted predators.
I introduced the girls to the cactus that grows wild here. 
It has this bright yellow flower that turns into a maroon fruit. 
I picked up one of the cactus fruits, peeled it and gave it to each of the girls to try.
This is Gabby giving the fruit a try. 
Everyone said," It's really good."
While walking in the shallows on the bay side of the island the girls found a large conch shell.
 We were all very excited to find a large hermit crab living inside.
He was a deep red with very large claws. Mr. hermit was not happy about us picking him up and taking his picture.
Herm did come out of his shell to give us a full view of his amazing body,
 and then back into his shell he went. The girls gently placed him back where they found him and he scurried off along the sand bottom of the bay. 
Kirsten, Samantha and Gabby show us there favorite finds of the day.

Friday, January 14, 2011

Shell Lamp-Craft project

I finished my latest craft project, a shell lamp.
 If you have ever had the desire to make a shell lamp here is the" how to".

Supplies: A basic lamp
                  A lamp shade
 ( Your lamp is going to grow so you might 
want to wait until your lamp is finished before you buy your lamp shade.)
           E6000 glue
            Painters tape
     Scissors
                   Shells of all sizes (a lot and then more)
Optional: coral, sand dollar, starfish, crab
You will need to be in a well ventilated area. The E6000 glue is a bit strong smelling.
I prefer E6000 glue because the bond is permanent after 24 hours. With E6000 you have a few minutes in which you can move a shell if you change your mind on the placement that you want.
Are you ready? 
   Start with your coral and or heavy, large shells. 
Place a little bit of glue on a shell and stick it to the lamp. Once you
 have a few shells on your lamp place some painter's tape around them to hold them in place.
While the glue is setting on the bottom of your lamp you can start gluing smaller shells on the top of your lamp. When you have a few shells in place use your painter's tape to hold these shells in place.
When the glue is dry carefully remove the tape. Continue gluing and taping all the way around and up and down your lamp. Sorry, this lamp takes several days to make but it is worth the time.
Once your lamp is full of shells you will need to start placing smaller shells in the spaces. We don't want any of the original lamp to show through. Take your time, this is the fun part. You can place your special shells in the perfect place.
When my lamp is full of shells and there is no lamp base showing through, I like to put a few fun things onto my lamp. Here you can see a starfish.

If you look real close you can see a small crab.

The shell lamp is finished all I need is a lamp shade.
I hope you find this project enjoyable. The trick is to just take your time and enjoy seeing all your shells come together to make a beautiful lamp.
My shell lamp now sits happily on our back porch.


Friday, August 6, 2010

Whelks

Good morning!
Whelk in the morning light.
I never know what I will find on the beach. Today I found a nice little whelk.
All of these whelks were found on the beach in front of our house.

Tuesday, July 20, 2010

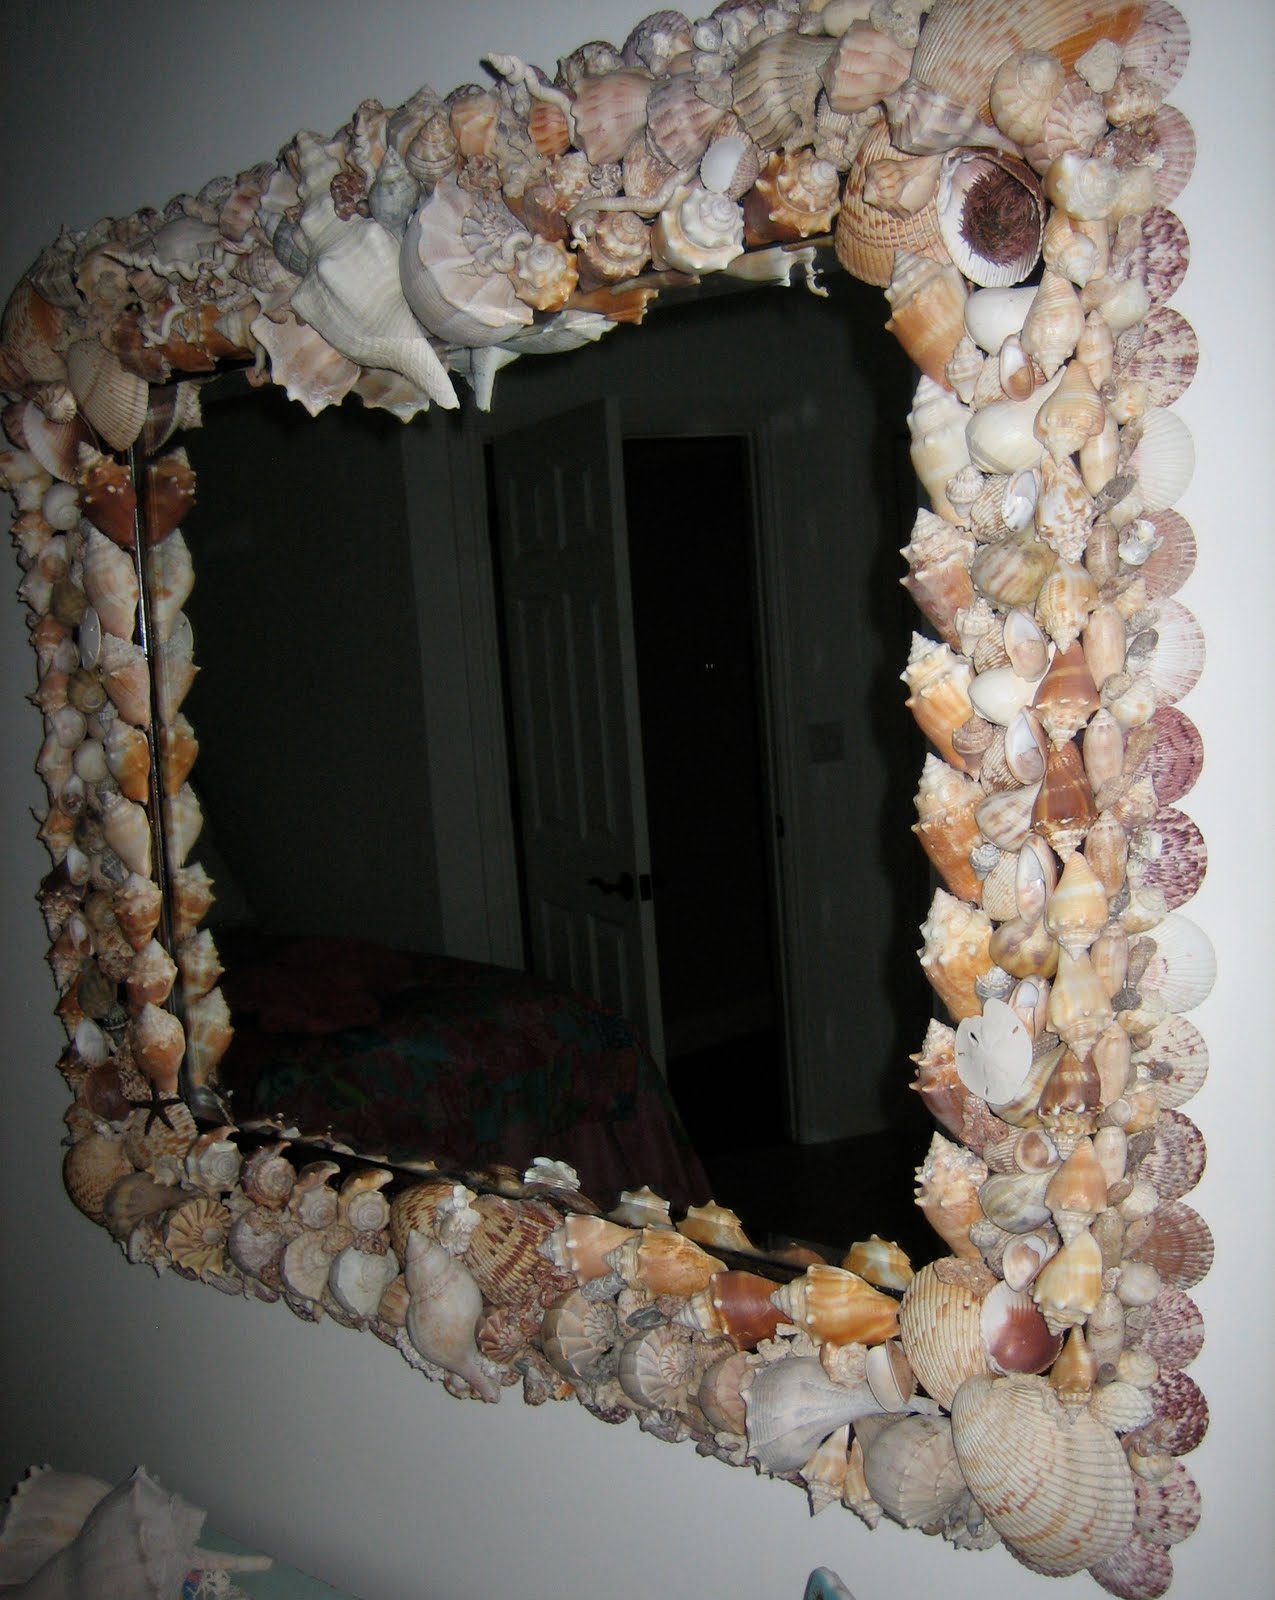
New Shell Mirror

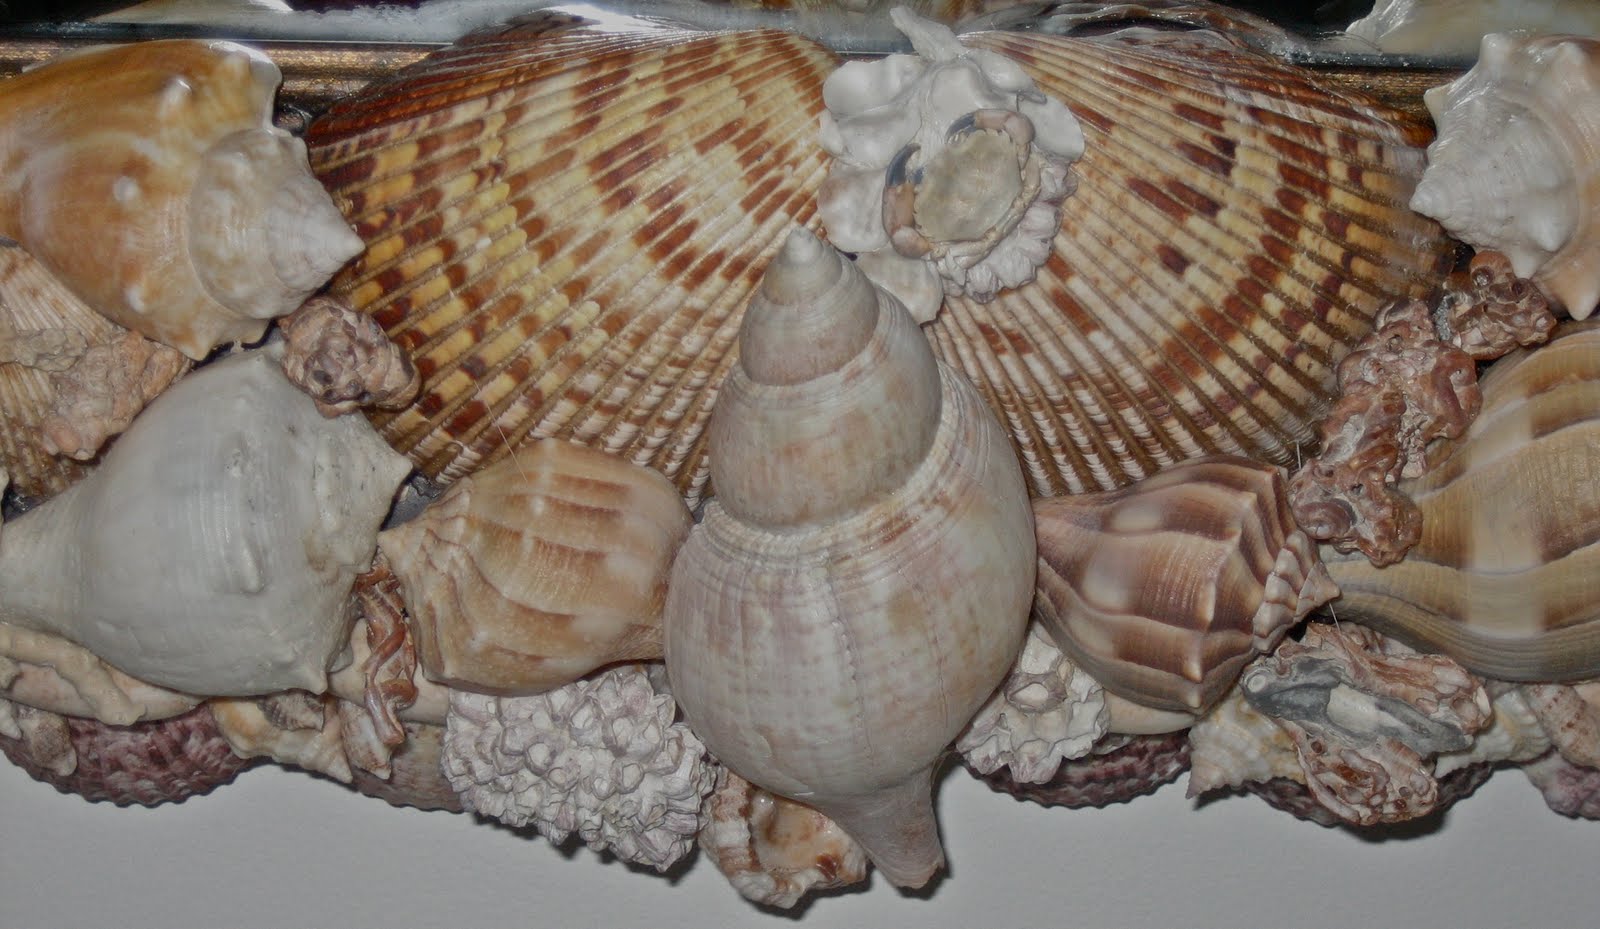
This is my latest shell mirror. It always feels great to finish a project.

These are pictures of the top

corner
side and bottom of this mirror.
If you are interested in this mirror or any of my work please feel free to email me with any questions.