Showing posts with label antiques. Show all posts

Wednesday, October 8, 2014

Tips and Tools - Organizing Laces and Ribbons

It is always nice to find new ways to
organize.
Today I will show you a little trick
I have found for organizing all those antique and vintage
laces, as well as the small bits we just hate to throw away.
To start the first part of this project
 you will need an old 
deck of cards and a glue stick.
You may also want to place a piece of cardboard
 under your work space to protect your table.
Take two cards, put glue on the number side
of one of your cards. Place the other card on top.
Make sure your cards are straight.
You can make as many of these as you would like.
Then start wrapping your lace around
your card. Secure the end with
a straight pin.
These cards fit perfectly in my old library card case.
For all my small bits and pieces of antique lace
I like to re-purpose wine corks.
All I do is take a wine cork and wind my
ribbon or lace around it.
Secure it with a straight pin.
For easy access I place them in small drawers.
This antique doll's dresser works perfectly
for all my small pieces of lace and ribbons.

Saturday, February 8, 2014

Tips and Tools - Coralling the Studio Chaos - Day Two - Boxes

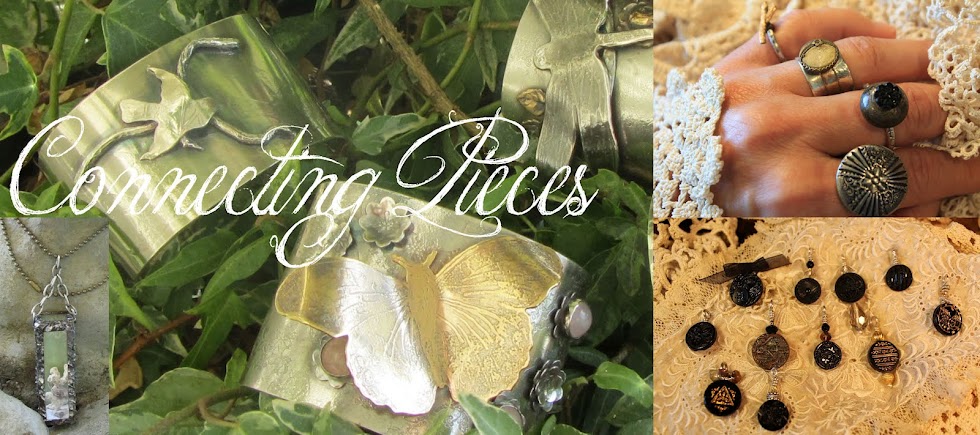
I have such a wonderfully peaceful feeling when I walk 
into my studio and everything is clean and organized.
Today I would like to share with you some of the things 
I use to organize my main studio.
One of my favorite pastimes is to go antiquing and junking.
 I love the feeling of going back in time as I rummage through
 things once loved and cherished. 
When I walk through a yard sale, junk store,
or an antique mall wonderful treasures of the past jump out at me.
Some of these treasures are wooden boxes.
The boxes that I have collected can be as large as a cabinet
 or as small as a pill box. 
The Primitive cabinet above works very well
for housing things I need but don't necessary
want to see.
The boxes I bring home are not always perfect.
They are often worn and scarred by time
bringing that old world charm to my studio.
This hand carved box has six dividers and
 works very well  holding some of my glitters.
I use to have a lot of small plastic containers in my 
studio. (We use what we have, right.)
The plastic boxes and containers worked but they just were not 
what I wanted my studio to look like or feel like.
While walking through a Goodwill store one day I noticed
several old wooden jewelry boxes. 
I bought them,
 brought them home, and they worked perfectly
for all the tiny findings I use for my jewelry.
The wooden cigar box is another favorite box of mine.
This antique "step back" cupboard has open shelves
and is the perfect place for some of my boxes.
I enjoy having easy access to so many of the 
small items that I work with.
This vintage sewing box has a lot of
separate compartments. It works well for holding
my tags and cards.
Other boxes that work well in the studio are
old crates. They can be turned on their sides
 making cubbies for all kinds of things.
With a board placed on top of these crates I can then 
place my old tool boxes on top of the crates.
This antique tool box holds my stamps and inks.
The typesetter drawers are perfect for corralling things
like keys, game pieces, charms and beads. 
These two boxes are the newest additions to my studio.
The bottom cabinet is an antique
library card filing cabinet.
Now it is filling old typewriter pieces.
This five drawer box below is an antique drug store
label box.
The drawers of this box are the prefect size for all my 
tiny screws, bolts, springs, hinges, screw eyes and more. 
Well, that is all for today.
Tomorrow I will share some things
 you may have not thought of to use in a studio.

Saturday, September 8, 2012

Jewelry - Antique Button/Sterling Silver Rings

It's not just a button any more.
"Oh how I love all things old."
My love affair with buttons has
been going on for as long as I can remember.
One day I was looking at all my
beautiful buttons.
 THINKING!
"These buttons are so pretty and special they
should be worn." 
The button in the photo above
 is a Victorian brass and fabric button.
 It now rests happily on a sterling and copper ring.
This sweet small branch button is 
gold filled and sits on a sterling
silver band that looks like a branch.
Don't you just love the diversity
in these button rings.
 I am wearing this one now.
 It is a sterling ring, brass button with a beautiful
jet flower button on top.
This is just a sampling of my button jewelry.
If you love these rings and would like to own one, just drop me 

Thursday, August 30, 2012

Making a Brass Plate to Replace a Missing One

The antique jeweler's bench that I just cleaned up
was missing one of the brass plates that sit behind
the drawer pulls and door knobs.
So I made a brass plate to replace the one that was missing.
This is how I did it.
I found a piece of brass from my metal stash. 
I placed the brass plate on top of my piece of 
brass and traced it with my scribe.
Then I used my jewelry saw and cut out my
new brass plate.
I smoothed out the edges of my plate with my file.
There are three holes in this plate.
 To get three holes into my new plate I placed
the old plate on top off the new one and used my
hole punch to mark where I want the holes to be
 on the new plate. 
I used my drill press to make my holes.
Then I filed off the burs with my file.
My plate is looking pretty good.
There are markings on the old plate that I
 tried to replicate.
I used a nail punch and a chisel to replicate the
shapes on the old plate. 
To give my new plate a little patina I put it in
a bowl with a very small amount
of black patina.
In about a minute my piece was black.
I took it out and rinsed it with cool water.
I used a piece of 1000 grit steel wool
to take off a little of the black. This gave the piece
more of a worn look.
There you have it,
new made old,
 old just like new.
My new brass plate looks wonderful on my
antique jeweler's bench.

Tuesday, August 28, 2012

Look What Just Arrived in my Studio

I am now the owner of this
 hand made antique jeweler's bench
 and it now sits in my studio.
This is an account of how I obtained
and then cleaned this jeweler's bench.
August the 19th was my daughter Rachel's birthday.
Rachel wanted to go junking for her birthday.
 My mom, daughter in law Felicia
 and Rachel took our seats in the Ford Flex
and headed out for
an adventure.
 Felicia had never been 
junking so she really did not know what 
she was in for.
We dragged her to garage sales, yard sales,
 storage sales, estate sales
and even a foreclosure sale.
 We saw some good stuff,
 some bad stuff and a lot of dirt.
Felicia was a trooper.
 Before we wrapped it up for the day
 I thought we all needed a trip to an antique store.
  That is were I found this piece.
When I saw this cabinet in the antique store all I was 
thinking was,"I have to have this piece, the price is right
and it is wonderful."
I did not look in the drawers and I did not have a flash light.
(lesson learned)
As you can see when I got this piece up to my studio
I was in for a lot of sweet equity.
This was the dirtiest piece of furniture I have ever come across.
I started the cleaning by wiping the whole thing
 down with Murphy's Oil soap.
That is when I saw that several of the drawers needed
to be repaired.
I was able to fix them with a
 little wood glue and some wire brads and all was well.
While fixing the drawers I realized just how dirty
they were (dirty is being kind).
I was going to have to resort to drastic measures
 to get the inside of these drawers clean.
(Now I do not suggest doing this, I only got
away with it because the wood in this cabinet
is a good hardwood).
I used a spray bleach and a small amount of water
with a scrub brush.
I would spray, scrub, then rinse with a very small amount of water.
Then I would wipe out the drawer and remove all the water.
 I would then came back with more bleach
and a tooth brush so that I could get into the corners.
With a scrubbing sponge I scrubbed some more.
This was quite a process and took a long time
but it did work and my drawers are very clean.
 The outside of my cabinet needed some more cleaning as well,
years and years of wax and grime were evident.
I had already used the oil soap but it needed something more.
I didn't want to remove the
aged patina or ruin the "look",
so I took a sanding sponge and lightly sanded the hole piece.
I then vacuumed the cabinet and removed all the
remaining dust with a damp cloth.
Now it was time for the fun part.
Time to wax.
Here you can see the left half of the cabinet is waxed
while the right side is not.
 My cabinet is clean and waxed.
It smells so good!
I am a happy girl.
As a side note,
 while I was cleaning
this wonderful piece I found a secret
drawer and that my cabinet had been signed.
Happy hunting!